
How to share your 4D code via Github
December 18, 2019
6 min read

So you’ve been testing out project databases … maybe you’ve created one or perhaps you’ve converted an existing binary application. Now, it’s time for us to show you how to use Git (the revision control system) with Github as the hosting service for your 4D application.
Before going any further, in order to follow along with this blog post, you’ll need to have 4D v17 R5 or newer. We also assume that you know how to create a project database or convert an existing application into a project. Everything you need to know about both of these subejcts is covered in the documentation and the 4D blog.
It’s important to keep in mind that there is a difference between Git and Github:
Have you ever wondered how big projects with distributed teams are accomplished? For example, a Linux project with hundreds of thousands of people working on it at the same time? Well the short answer is they use Git. Which is basically a version control system (aka VCS) that lets you manage and keep track of your source code history.
Github is a cloud-based hosting service, where you can share your code with others and manage your Git repositories.
If you already have Git on your machine, you can skip to the next section. Otherwise, download it from here.
If you’re not comfortable working with Git from the command line interface, there are several GUI clients available that’ll speed up your workflow (especially if you are new to the platform). One of these tools is Github Desktop which has been developed by Github for both macOS and Windows platforms. The choice is yours, you can either use a tool with a graphical user interface or the command line interface. In this blog post, we’ll be using the command line interface to see what’s going on behind the scenes.
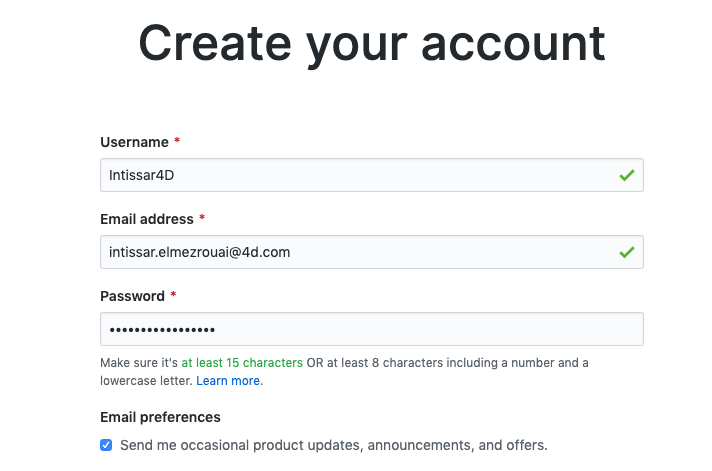
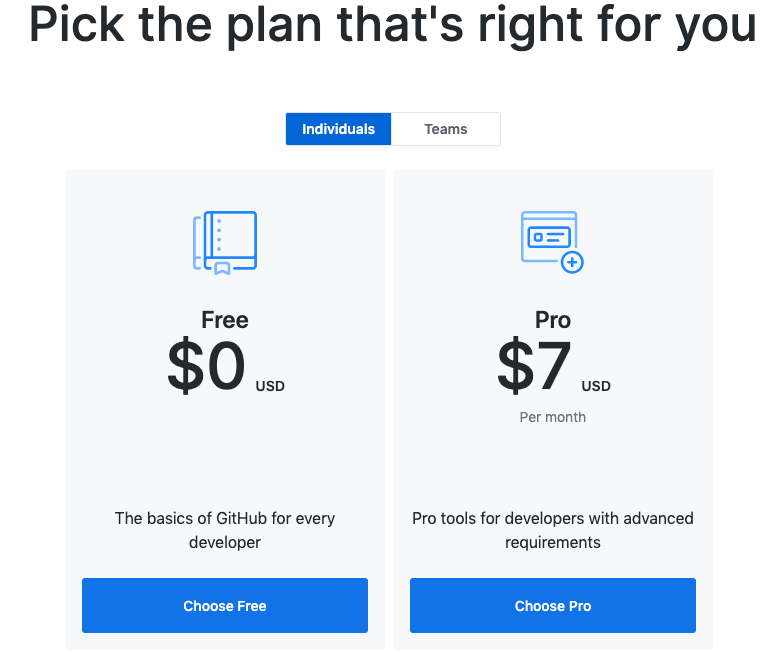
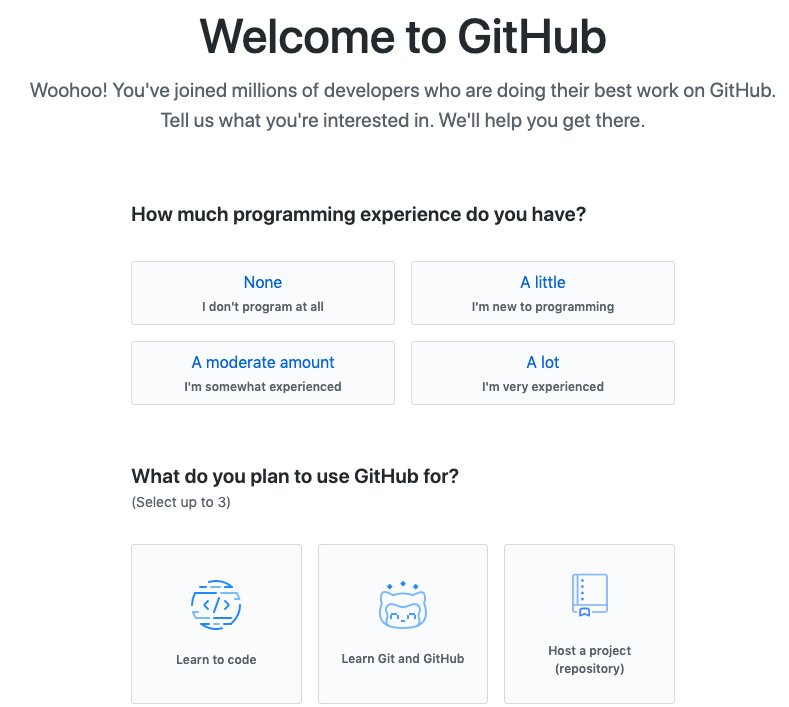
Next, you’ll need to set up Github. First, you need an account on Github. Follow this link to create a profile, choose a plan, and specify a user experience. The process is extremely easy and user-friendly.
 |
 |
 |
Before getting our hands dirty, there are some recurrent terms we’ll use while working with Git:
If you’re interested in knowing more, check out the glossary.
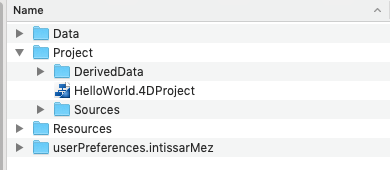
Here’s your 4D application waiting to be hosted:
Open the terminal and navigate to your 4D project directory:
![]()
Next, you’ll need to initialize a local repository. Simply type the git init command:
![]()
Since git init was executed in a 4D project folder, Git already has a list of untracked files available. The git status command will list all of the modified files (or new ones) which can be added to the local repository:
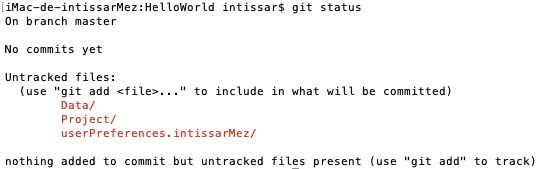
The result shows that three elements have not yet been included in the index, which means that committing changes with these elements cannot be done for now. The git add . command will inspect the entire working directory looking for any new, deleted, or modified files and add them to the index.
![]()
Running git status once more shows that the files are ready to be committed.
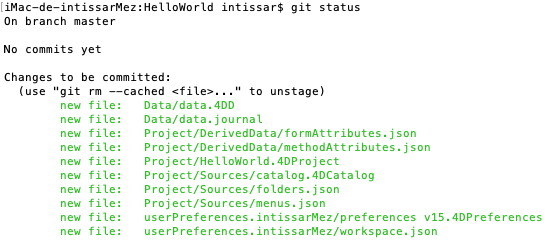
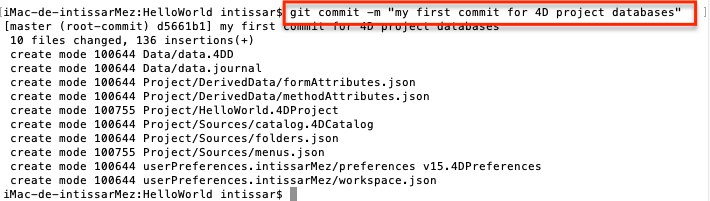
Now it’s time to send our files in the staging area to the local repository. This can be done with the git commit -m “message” command. Commit messages should be clear and explicit for backup purposes.
Note: Sometimes, we have some files or directories in our project directory which we do not want to be tracked. That’s why a .gitignore file must be created where you instruct Git which files, directory or patterns need to be ignored in the repository. In our case, files like the journal, the preferences, .4dd, and the folder DerivedData. In a coming blog post, we’ll show you how to proceed.
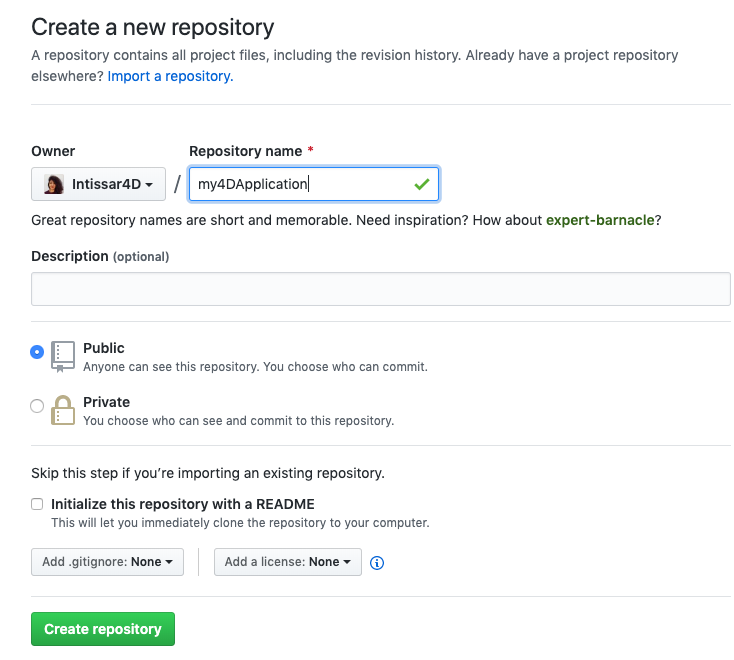
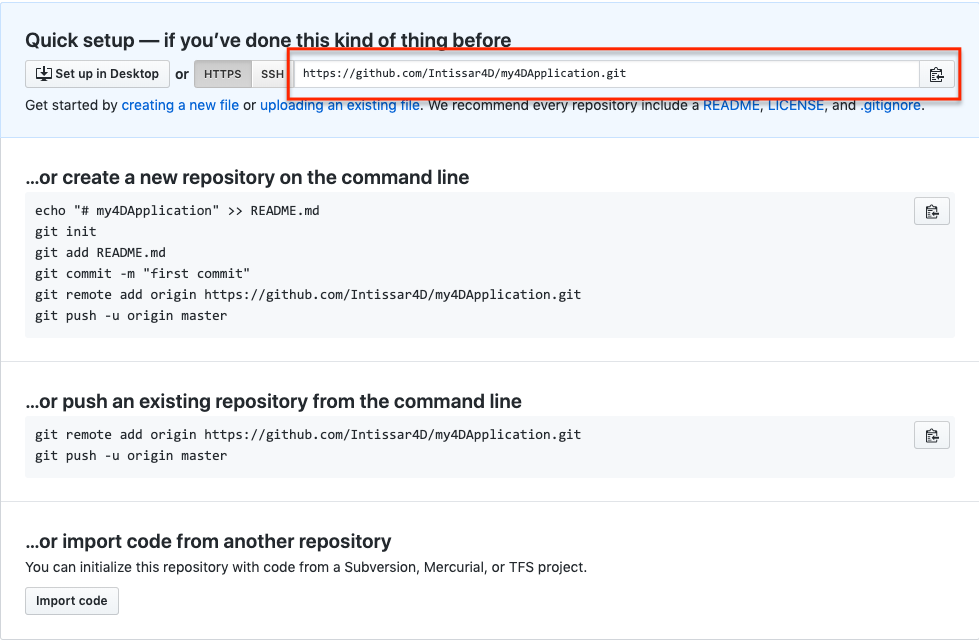
Good. Now that the files in the working directory have been successfully committed to the local repository, the next step is pushing these changes to the remote repository to be shared with the rest of the team. Now we go to our GitHub account and create a repository:
Click on the Clone or download button, and you’ll see a link. This is the Github repository URL, be sure to copy it.
Now we go back to our terminal and type: git remote add origin followed by the link to the Github repository you previously copied. Click Enter.
![]()
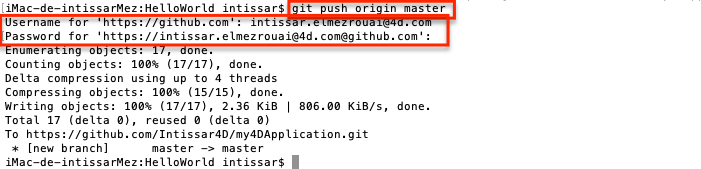
It’s time to send our application to Github using git push origin master. If prompted for username and/or password, enter your GitHub credentials that you used to create your account.
You can quickly check on Github to verify that all of your files have been sent to the remote repository.
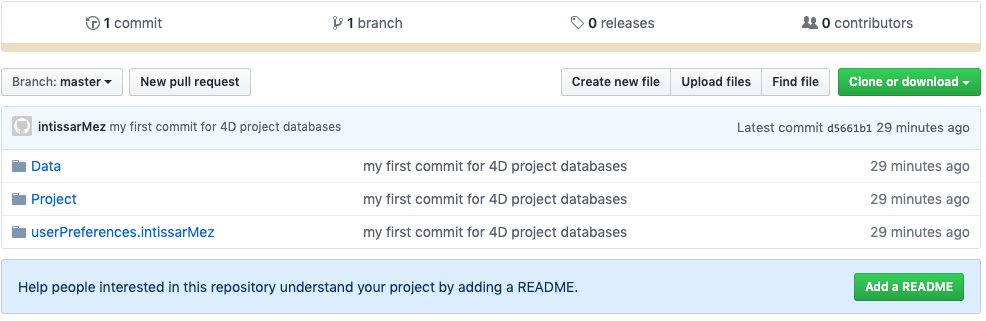
Congratulations, your code is in the cloud now!
In this blog post, we learned the difference between Git and Github, the most-used Git terminology, we created our first repository, and we added our 4D application on Github. In an upcoming blog post, we’ll go through the Git architecture and see some examples of the most-used actions to work with Git and your 4D application.
Got a question, suggestion or just want to get in touch with the 4D bloggers? Drop us a line!
* Your privacy is very important to us. Please click here to view our Policy
Comments are not currently available for this post.