
A new way to send mails
January 23, 2019
3 min read

We know the importance of sending emails and common a task it has become in today’s applications. For example, imagine you’re in a business and you want to send an attractive email based on HTML with a few images or even a video, and attach a file to it (e.g., a purchase order or an invoice). And you want to do all of this with just a few lines of code. Code that is easy to write and understand. Well starting with 4D v17 R4, the previous scenario is now possible. That’s why we’ve enlarged the feature set related to emails.
The SMTP New transporter command allows you to send an email in three easy steps:
An email is an object with a lot of properties described in the transporter.send() documentation. Below is an example on how to create an email with information such as the author, the recipients, the subject, the message body, and attachments.
Let’s begin by specifying the author of the email:
$email:=New object

$email.from:="noreply.mail@4d.com"
Then the recipients (using different syntaxes):
//Originating addresses

$email.to:="address1@mail.com,address2@mail.com"

// Carbon Copy

$email.cc:=New object("name";"Stephen";"email";"address3@mail.com")

// Blind Carbon Copy

$email.bcc:="address4@mail.com,address5@mail.com"
Next, let’s add a subject:
$email.subject:="Hello world"
And the body … You can specify two types, a text:
$email.textBody:="Test mail \r\n This is just a test e-mail \r\n Please ignore it"
or HTML:
$email.htmlBody:="<html><body><h1>Test mail </h1> This is just a test e-mail <br /> Please ignore it</body></html>"
You can use them both at the same time or separately. If you use both, the display depends on the client email used by the recipient.
Finally, we can add an attachment file with the MAIL New attachment command:
$email.attachments:=New collection(MAIL New attachment("c:\\tmp\\4d.png"))
Now that we have our email, we need to send it. For that, it’s necessary to indicate which SMTP server we want to use with the SMTP New transporter command:
$smtp:=New object

$smtp.host:="smtp.hostname"

$smtp.port:=25

$smtp.user:="User"

$smtp.password:="Password"

$smtpTransporter:=SMTP New transporter($smtp)
The final step is sending the email:
$status:=$smtpTransporter.send($email)
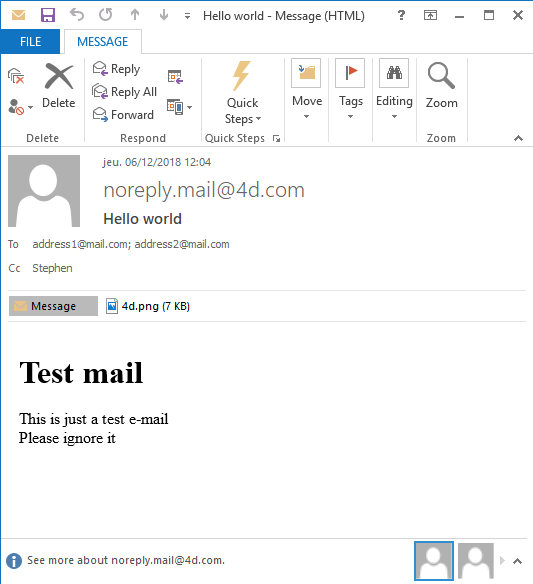
Here is the test email received in your mailbox:
As you can see in the examples above, creating and sending emails has been drastically improved and is very easy to use. There’s a lot of hidden power. You can easily test the transporter settings (user credentials, server data), enclosures can be specified as attachments or inline (inside the HTML), and much more. This is the first of several features in the pipeline and we’ll iteratively release more and more features with each R-release.
Got a question, suggestion or just want to get in touch with the 4D bloggers? Drop us a line!
* Your privacy is very important to us. Please click here to view our Policy
Comments are not currently available for this post.