
4D View Pro: Populate your sheets with a data context
April 26, 2022
2 min read
4D View Pro offers you a new way to load your data and create your templates: the data context. It allows you to create your document with placeholders and fill them by setting this data context.
With just a few lines of code, you can display objects or collections without authorizing them first with VP SET CUSTOM FUNCTION! Let’s delve into the details.
First, you need to create a document with your object attributes. For example, if you use an object with 2 attributes, Firstname and Lastname, you can create two placeholders with the VP SET BINDING PATH command:
VP SET BINDING PATH(VP Cell("ViewProArea"; 0; 0); "Firstname")
VP SET BINDING PATH(VP Cell("ViewProArea"; 0; 1); "Lastname")
No values appear in your sheet because the data context is not yet defined. To verify that your cells are correctly bound, go to the DATA tab of the Ribbon interface and click on the Sheet Binding button. Your attributes’ names will appear between brackets:
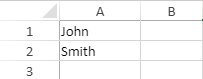
Now that your template is ready, just set your data context with your object using VP SET DATA CONTEXT:
$object:=New object
$object.Firstname:="John"
$object.Lastname:="Smith"
VP SET DATA CONTEXT("ViewProArea"; $object)
So the template is updated automatically:
Of course, the user can modify the data:
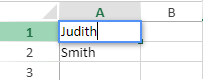
In this case, no problem; just use the VP Get data context method to retrieve your object with the modifications:
$object:=VP Get data context("ViewProArea")

//$object={Firstname:Judith,Lastname:Smith}If you pass a collection to your data context, this collection will be automatically bound to the sheet. If the autoGenerateColumns option of the VP SET DATA CONTEXT command is set to true, the collection is automatically displayed in the sheet.
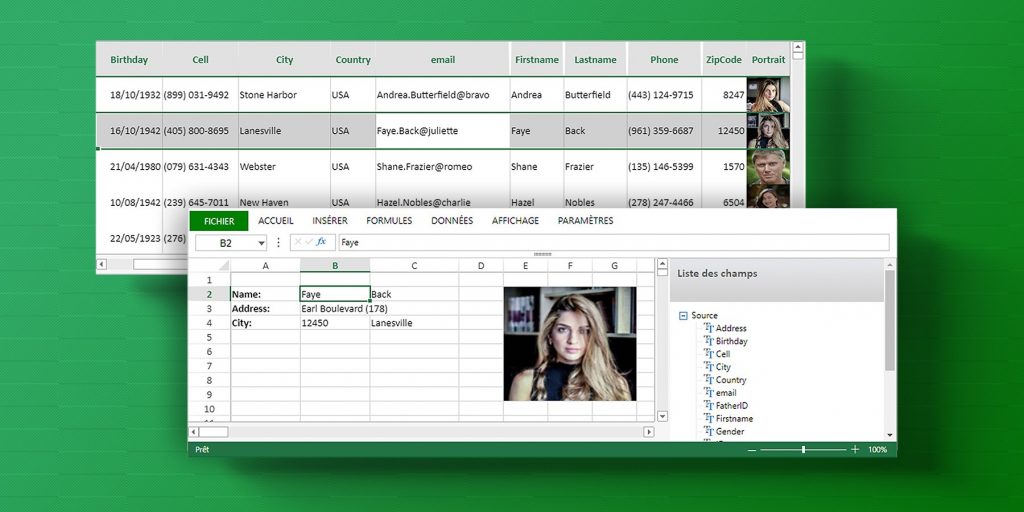
For example, if you want to display a database table, just write:
$people:=ds.People.all().toCollection()

VP SET DATA CONTEXT("ViewProArea"; $people; New object("autoGenerateColumns"; True)
You obtain:
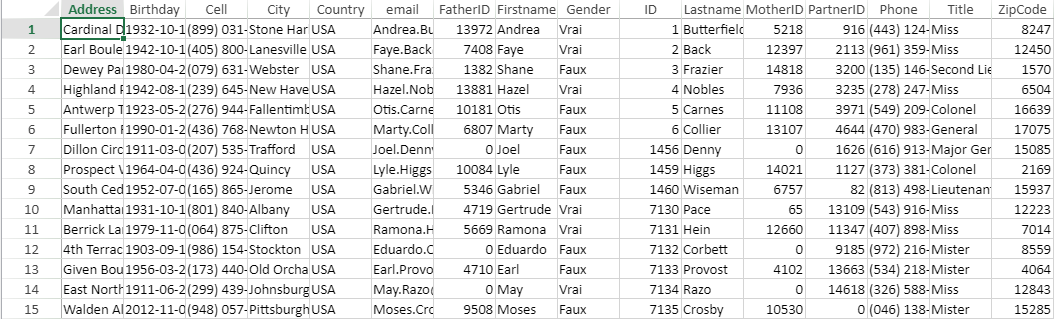
The number of columns and rows are automatically calculated, and the columns’ names are the table’s field names.
Note that if autoGenerateColumns is not set to true, no data is displayed!
Check out the HDI above to see these commands in action. Also, make sure to read the documentation for more details!
Got a question, suggestion or just want to get in touch with the 4D bloggers? Drop us a line!
* Your privacy is very important to us. Please click here to view our Policy
Comments are not currently available for this post.