
Make your Qodly applications dynamic and interactive with states
March 26, 2025
6 min read

States play a crucial role in creating dynamic and responsive interfaces in 4D Qodly Pro. They allow you to control the display and behavior of widgets based on specific conditions, such as a user’s role, privileges, or data from your database.
This blog explores this concept, presents the different types of states, and illustrates their use through examples from the Performance Review application to help you understand how to leverage them effectively.
Performance Review Application
A state represents a specific configuration of a page at a given moment, defining its appearance and functionalities.
For example, a state can be used to:
For a complete overview, see the official documentation on states.
Qodly Studio offers two types of states:
A non-conditional state is applied statically, without relying on a dynamic condition. It allows you to enable or disable a widget in a predefined manner.
Example: Displaying a form only when the user clicks a button, without checking additional conditions.
A conditional state is based on user-defined logic. It modifies the display or style of widgets based on criteria such as user roles or database values.
Example: Hiding the “Submit” button if the task is already completed or enabling/disabling a field based on the user’s role.
To better illustrate the use of states, here are two concrete examples from the Performance Review application.
In the Performance Review application, a review’s status determines whether a user can view or edit the data.
Create the “readOnly” State
To restrict data editing based on a review’s status, we create a specific state called “readOnly“.

Now, select the “readOnly” state you just created. To ensure the state is active and the one you want to modify, check that its name appears in the bottom right corner of the page editing area.
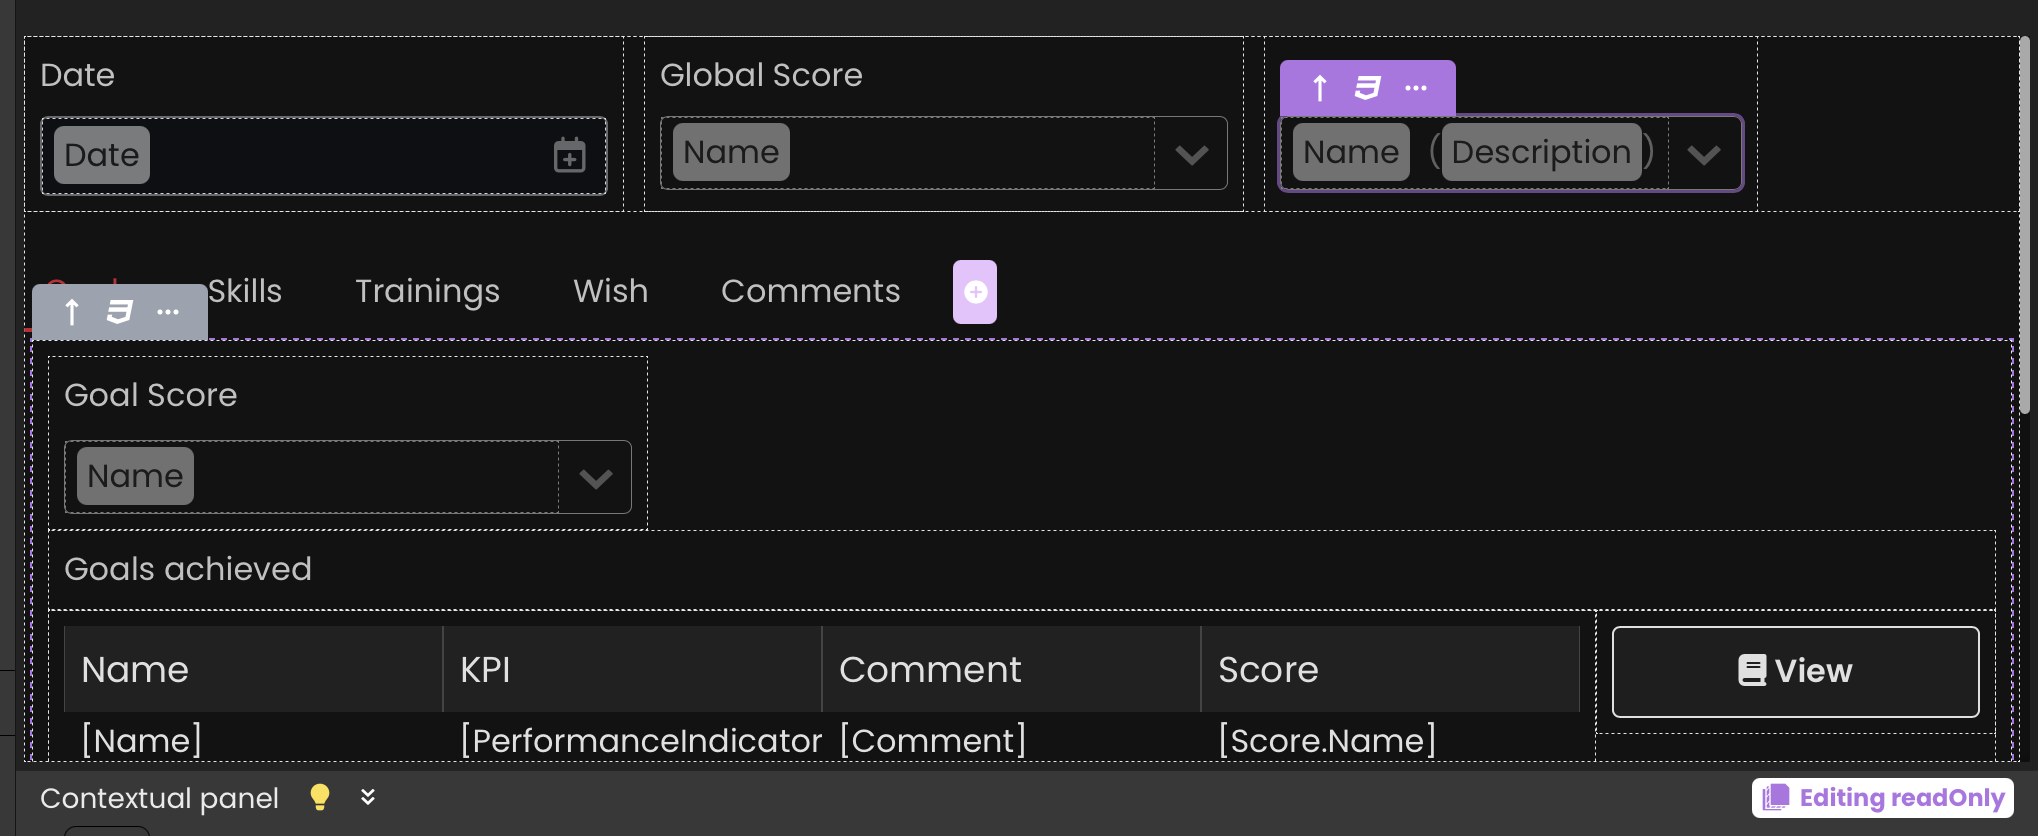
Configure Widget Display
For each input widget, modify the “disabled” attribute to true to disable field editing

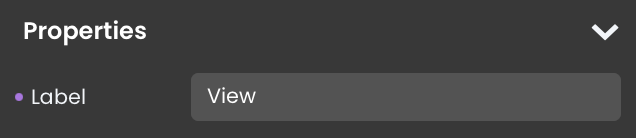
Then, rename Edit buttons to View.
Next, hide the Create and Save buttons by setting the display property to none.

Additionally, apply the same modifications to modal dialogs opened by the View button:
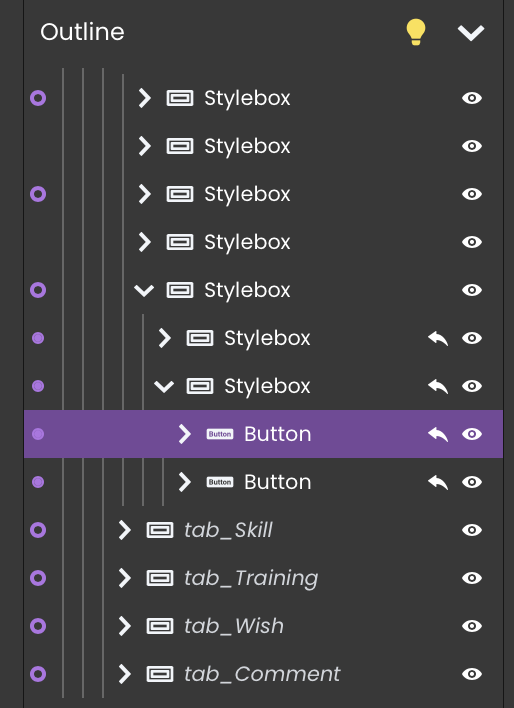
If a button is inadvertently hidden, use the Outline panel in Qodly Studio to locate and correct the configuration.
Implement the Display Logic
The next step is to implement the logic that activates or deactivates the “readOnly” state based on the review status and the user’s role.
The user’s role is stored in session data. For example, a Manager has a dual role: they act as a Manager when handling their team’s reviews but as a Collaborator when managing their own. In the application’s menu bar, selecting Collaborator updates the role attribute in storage to “collaborator“, while selecting Manager updates it to “manager“.
We add a computed attribute to the Review entity:
exposed Function get isReadOnly() : Boolean

  var $status : Boolean:=False

  If (ds.getUserInfo()#Null)


   If ((ds.getUserInfo().role="Collaborator") && (This.ID_Status>2))

    $status:=True

   End if


   If ((ds.getUserInfo().role="Manager") && (This.ID_Status>3))

    $status:=True

   End if

  End if


  return $status
This function returns true if the user can only view the data and false if they are allowed to modify it.
Note: The getUserInfo() function provides access to session storage.
Link the Condition to the “readOnly” State
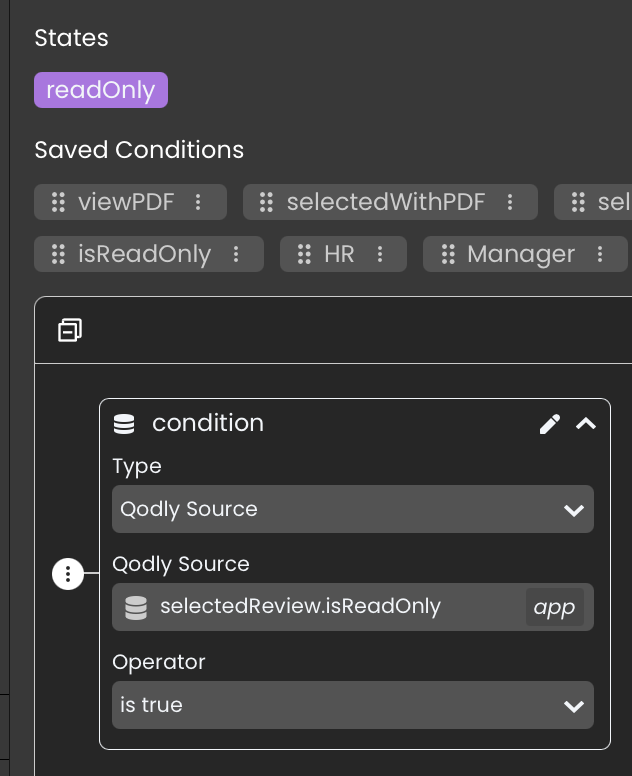
Finally, click on the Conditions button of the “readOnly” state to define the display rules.

Add a condition.
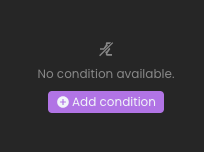
Simply enter the formula: “selectedReview.isReadOnly is True”.
With this configuration, the page dynamically switches between read-only and edit mode without requiring manual intervention or complex code.
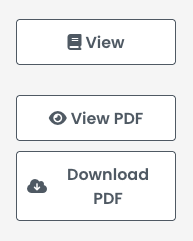
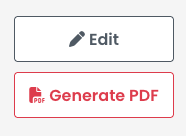
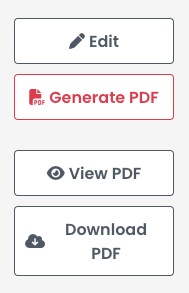
In the Performance Review application, a sidebar appears when a review is selected. The displayed buttons within this sidebar depend on several factors:
To handle these different cases efficiently, we create states for all possible combinations.
For information, the role is assigned when the user logs in and selects the HR, Manager, or Collaborator page. This information is stored in the session’s storage. This concept will be further elaborated in an upcoming blog post discussing navigation between the application’s various pages.
Creating States for Each Scenario
To ensure smooth user experience, we define specific states that control button visibility based on the conditions above. Each state dynamically adjusts the interface to display only the relevant actions.
Examples:
readOnly

readOnlyPDF
readWriteManager
readWritePDFManager
Saving Reusable Conditions
To simplify state management and avoid redundant logic, we define reusable named conditions:
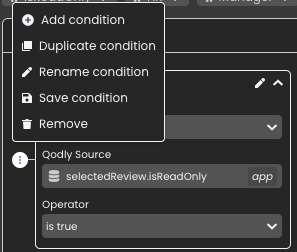
To save conditions, click on the “…” button and select “Save condition” from the menu.
Applying Conditions to States
With these predefined conditions, configuring states becomes much easier. Instead of manually setting complex conditions for each state, we simply reference the saved conditions. This ensures clarity, consistency, and ease of maintenance.
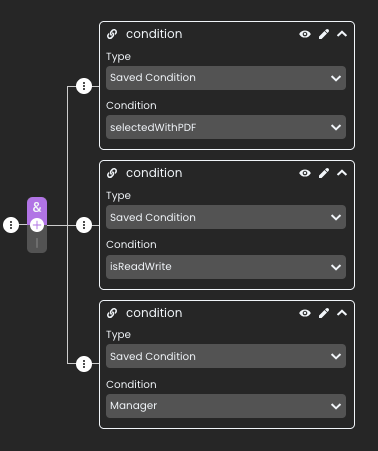
For example, to define the visibility of the “readWritePDFManager” state, we set the condition: selectedWithPDF, isReadWrite, and Manager
It’s up to you to find out how the other states are configured, and if you have any questions, join us on the 4D forum.
This approach ensures that the interface dynamically adapts to different user roles and review statuses, providing an intuitive and efficient user experience.
Leveraging states in 4D Qodly Pro is a powerful approach to customizing the user experience and optimizing interfaces. By using them effectively, you can:
To find out more, take a look at our complete documentation on states.
How do you use states in your Qodly applications? Share your ideas or questions on the 4D forum!
Got a question, suggestion or just want to get in touch with the 4D bloggers? Drop us a line!
* Your privacy is very important to us. Please click here to view our Policy
Comments are not currently available for this post.